tokevent.org is a platform made for token-gating physical events (e.g. using existing NFTs as tickets, e.g. letting people use their ENS domains as physical tickets to an event without any on-chain transactions) and can also be used for doing simple auth for address holders without needing to make on-chain transactions (e.g. making sure you are communicating relatively directly with the holder of a private key of a particular address), this platform is also constructed in a way to minimize any reliance on centralized infrastructure. It is easy to self-host & does not rely on a centralized API.
Feel free to reach out via Discord or Telegram if you would like to use tokevent.org to host a token-gated event or for basic off-chain account auth, or if you have any queries or require any explanations.
A demo of the perspective of both attendees and access management staff can be found via the following URLs:
Access management staff demo: tokevent.org/demo/access
Attendee demo: tokevent.org/demo
By opening both of these links in their own tabs/windows, you can test out the full process flow (attendee demo page requires a browser with a web3 wallet connection, e.g. metamask). The demo uses ENS token ownership on Ethereum L1 mainnet as the token-gating mechanism (i.e. 1 ENS token = 1 ticket), so if the attendee account that signs the message owns an ENS domain, the access management portal will show that the account is entitled to one ticket, otherwise it will say that the signer is not entitled to a ticket (Discord or Telegram for help).
The construction of this platform was made possible by an independent infrastructure grant from https://seen.haus - thank you for supporting independent infrastructure and enabling the development of this public good for the NFT space.
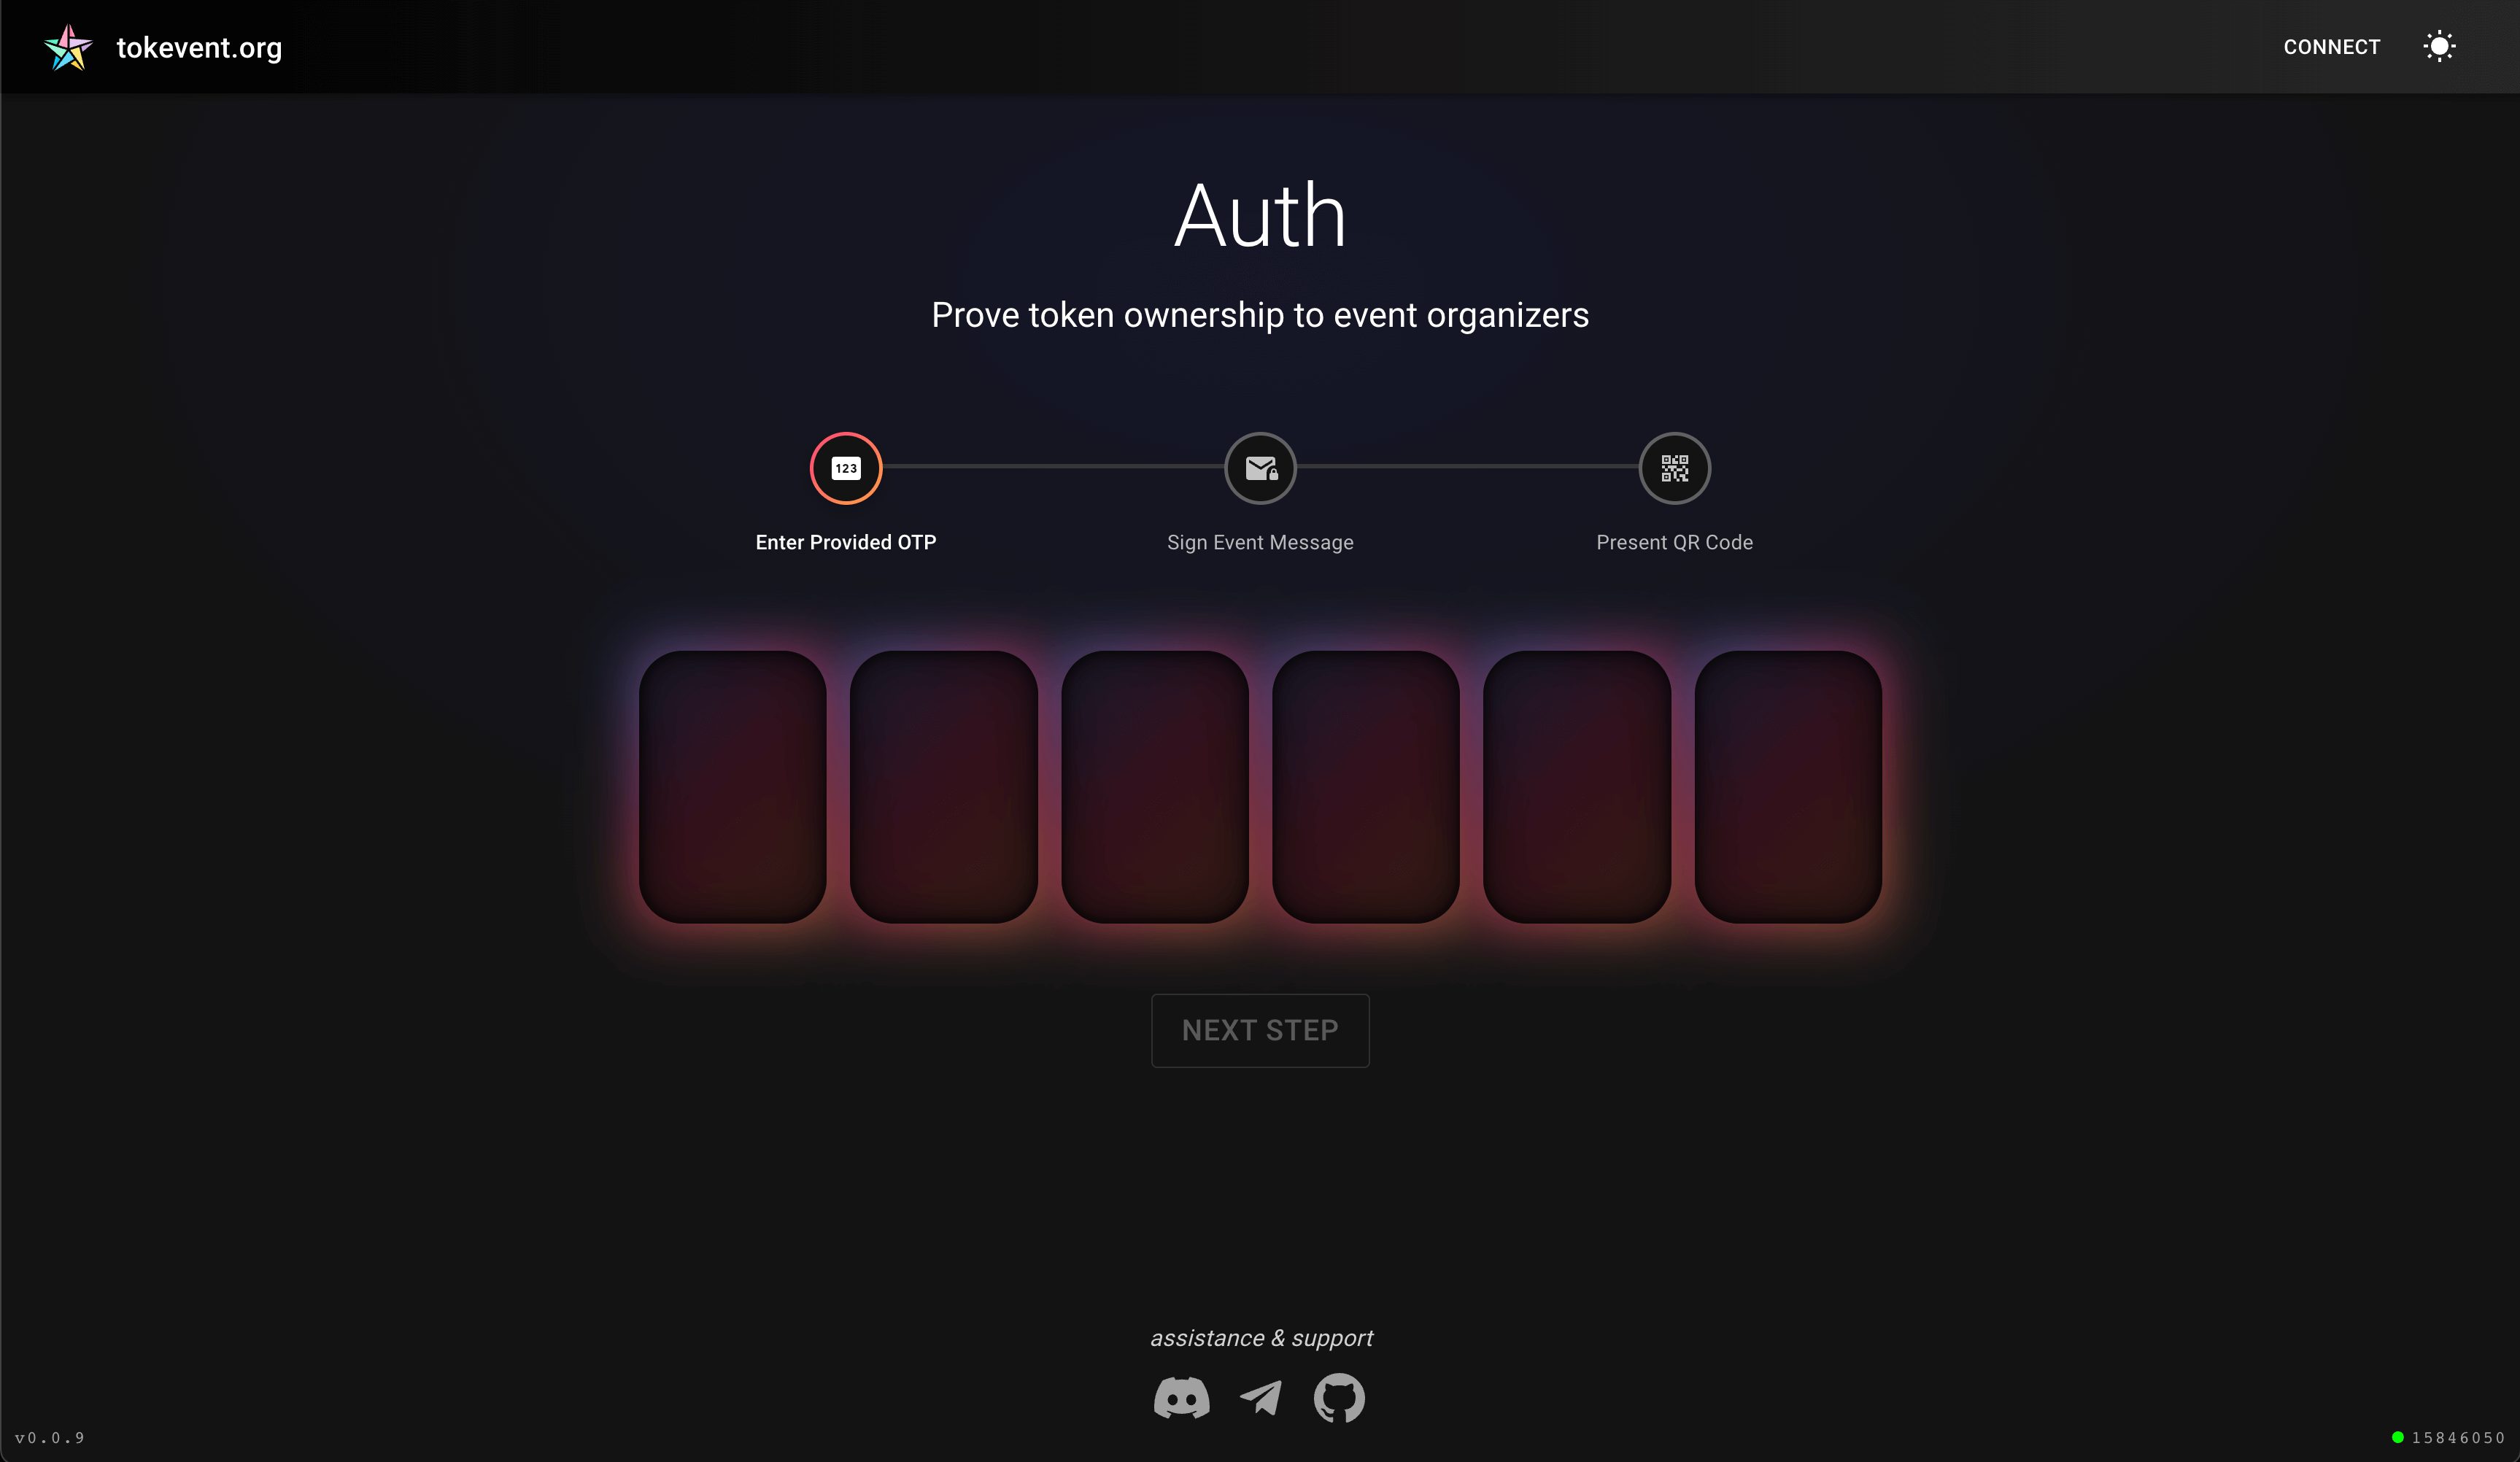
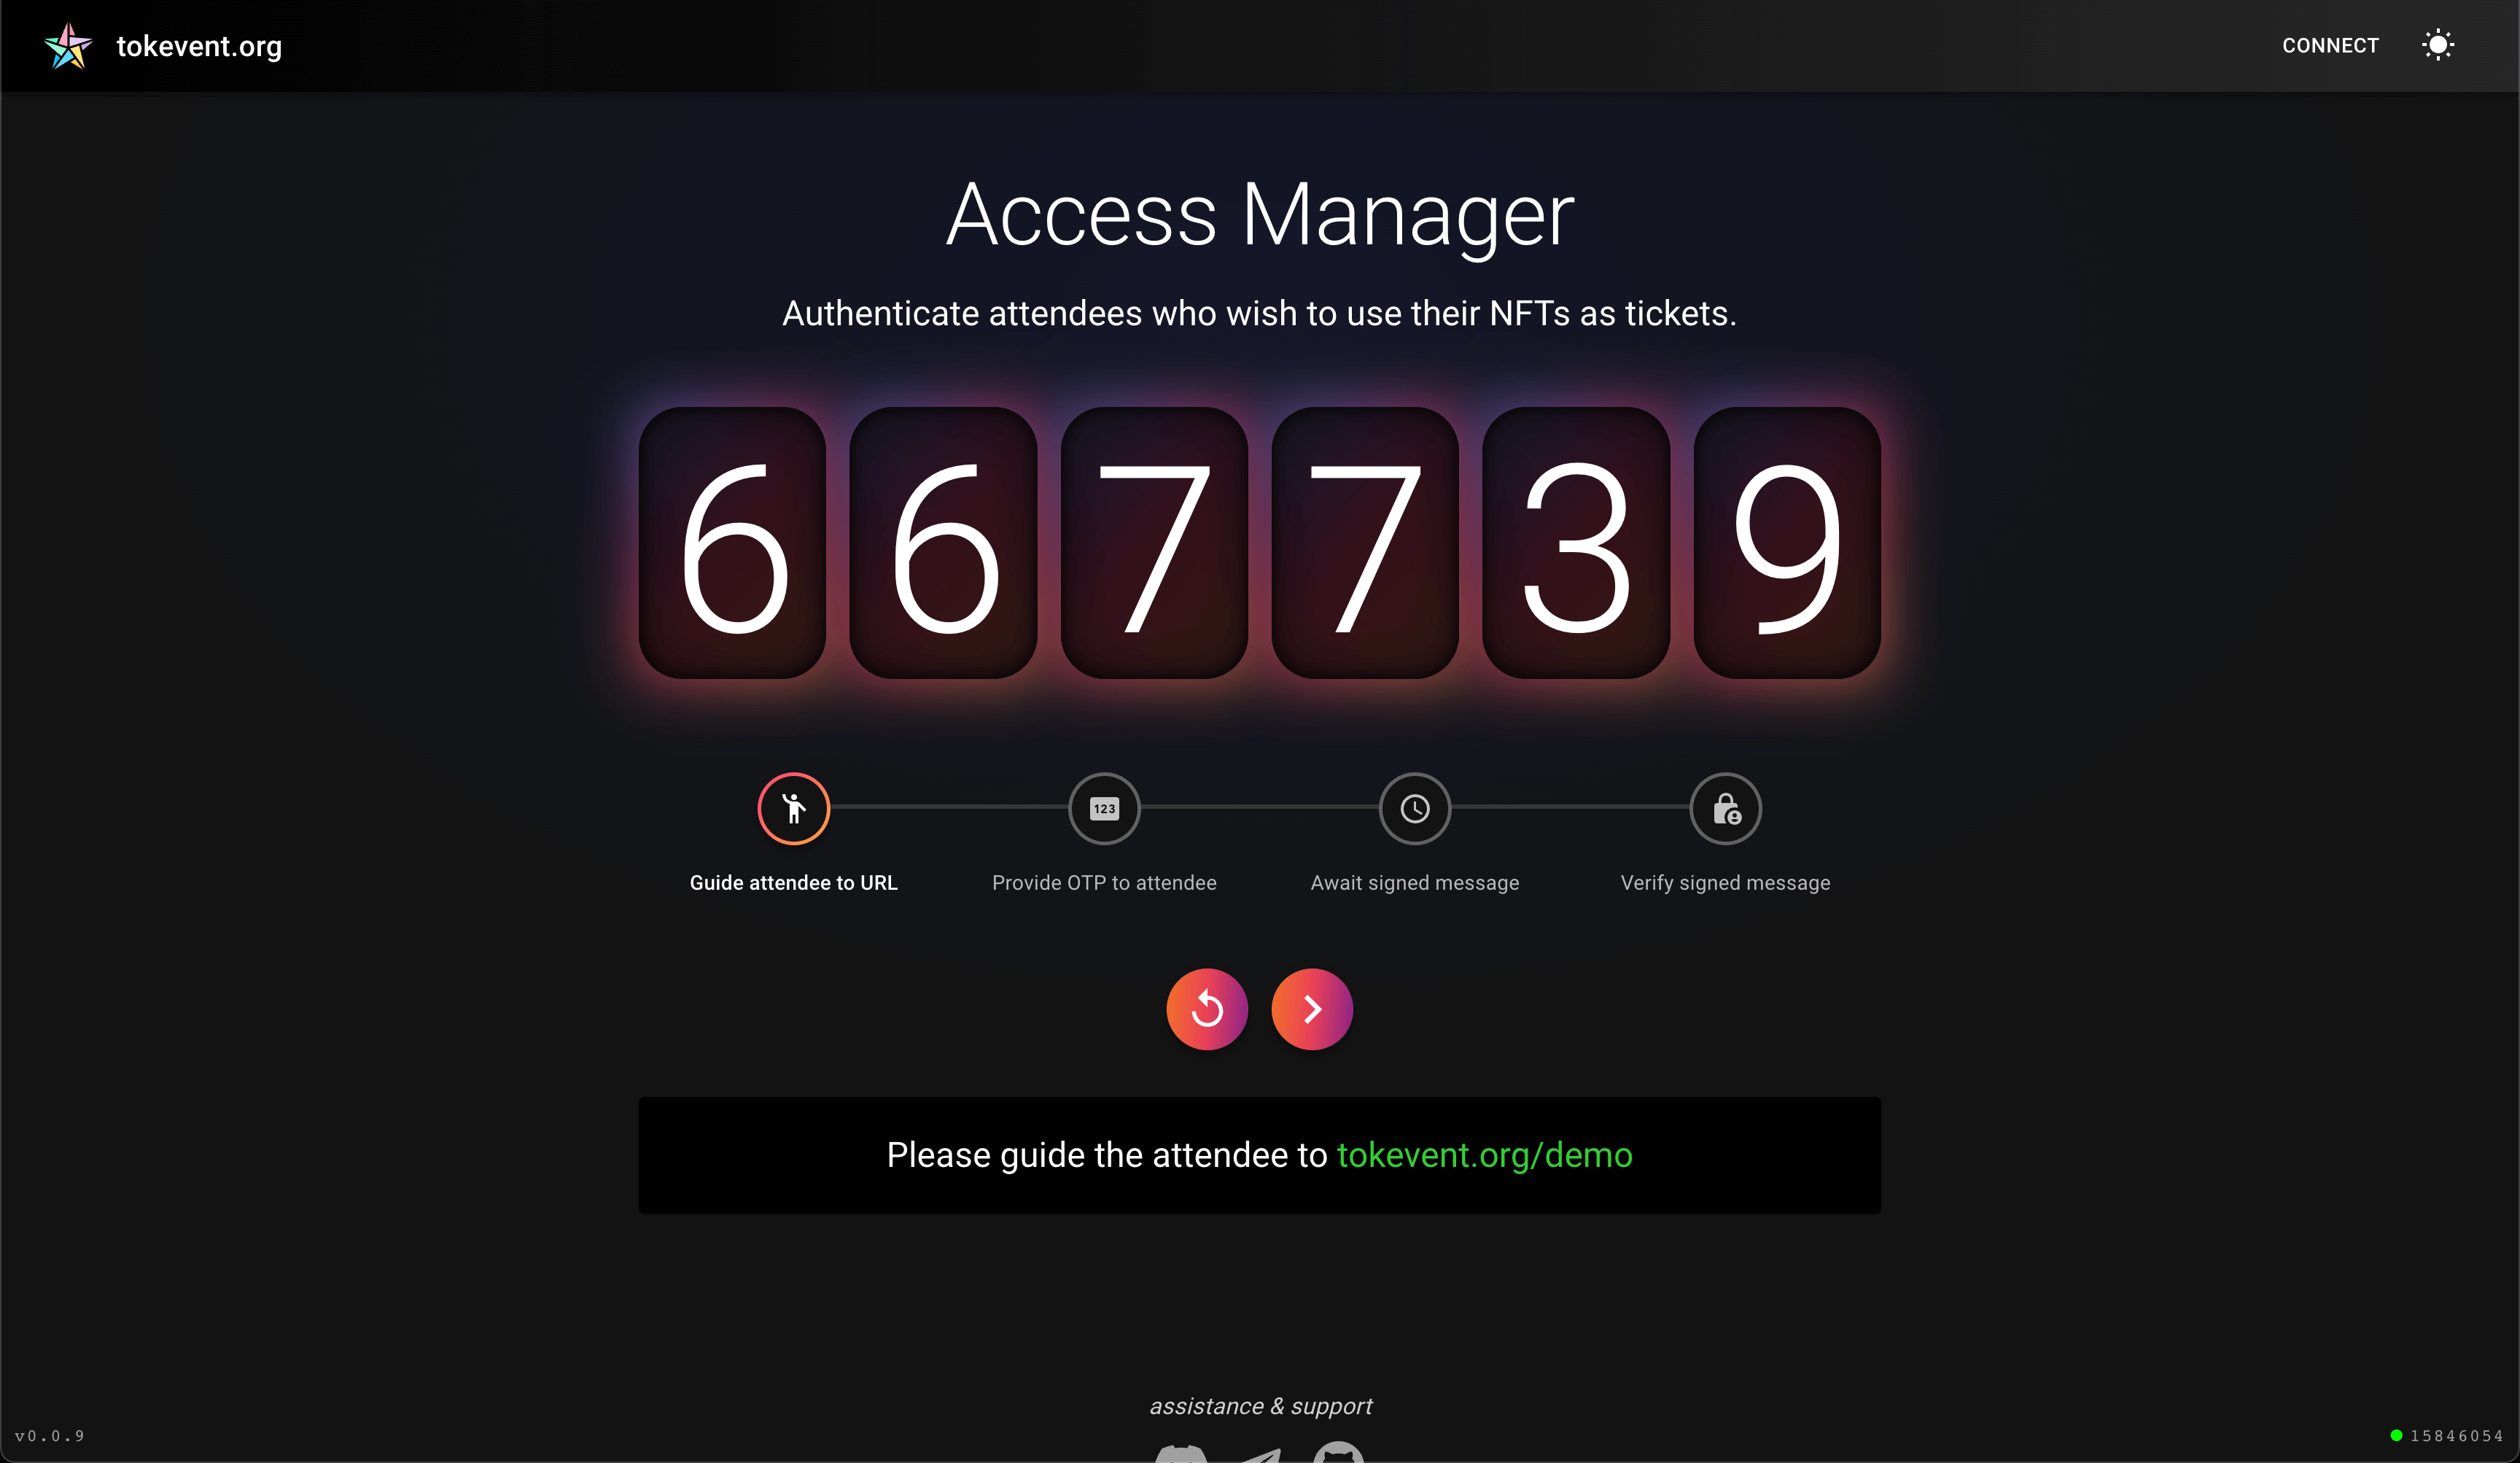
tokevent.org works primarily by splitting the application into two zones. The first zone is responsible for handling the flow of individuals wishing to authenticate their wallet addresses (Auth Zone), and the other zone is responsible for handling the flow of the event staff that are authenticating said individuals (Access Manager). At a high level, event staff provide entrants with an OTP to sign using their crypto wallet, the signed message is embedded into a QR code that can be scanned by event staff to evaluate the configured criteria for access to their event (e.g. for each owned token of address 0x123...789, individual is entitled to 1 ticket - this configuration is handled in the src/hosts/hosts.ts file).
The process flow, including how the two zones interact with each other, works as follows:
(After having set up a host and event, see How to add a new host/event to tokevent.org below)
For the following example, let's imaging our host organization is named "ethorg"
- Event staff of ethorg open
tokevent.org/ethorg/access(Access Manager Zone) on the devices that they wish to authenticate entrants from. - When prospective entrants approach the event staff, the staff guides them to
tokevent.org/ethorg. - The entrant selects the event that they wish to authenticate for (entrant is now in the
Auth Zone). - The event staff provides the individual with the OTP from the
Access Manager Zonescreen. - Individual enters OTP and signs the message using their crypto wallet, a QR is generated.
- Event staff scans the QR code and an automated signature review process is initiated.
- Based off the feedback from the automated signature review (signature validity, token holdings, ticket entitlement count), the event staff can either choose to allow or deny entry to the individual.
- Fork this repository
- Navigate to
src/hosts/hosts.ts - Create a new
Host(e.g.DemoHost), there are some exampleHostentries already present which can be used as a reference (please note that any images you want to display must be uploaded to ipfs and must use theipfs://<HASH>convention as image links, examples can be seen in existing hosts). - Add any events that you would like to add into your
Host. - Add your
Hostto theslugToHostobject, assign the slug that you would like to use in the tokevent.org URL as the key that maps to your host (e.g.'demo': DemoHost) would mean that your events would be visible viahttps://tokevent.org/demo. - Open a pull request into the
mainbranch of this repository, from your fork, and your pull request will be reviewed. - Once your pull request is merged, your host and events will show up on tokevent.org
Note: this application is in beta
-
Right now, tokevent.org is intentionally built without a backend/api in order to preserve decentralization. This means that it is not possible to guarantee that a particular token ID isn't used more than once (for example, in a 1 token 1 ticket setup, an entrant might send their token to their friend directly after gaining access to the event, and then their friend might use the same token ID to gain entry to the event), therefore, it is recommended for event staff to maintain a list (e.g. a google spreadsheet) of all token IDs that are being used to enter, and to check each new entrant against that list (for more details on this process please ask for help via Discord or Telegram). We are currently going through an ideation phase of how to use smart contracts to solve this issue but also want to make sure that costs are low (e.g. using an L2) and that the data committed to the chain is privacy-preserving enough to not expose publicly which token IDs are being used to gain access to which physical events. This is an open area of improvement for tokevent and any community contributions, suggestions or discussions are appreciated.
-
Only ERC-721 tokens are currently supported.
If you intend to deploy this to IPFS, swap the BrowserRouter in /src/components/App.tsx for HashRouter and set the start_url in /manifest.json to ./.
First off, it's important to rename .env.example to .env and add your Infura or Alchemy API key to this file (also remove the example entry that won't be used), this will enable your DApp to work in read-only mode (i.e. before a user connects their wallet provider).
Installs required packages
Runs the app in the development mode.
Open http://localhost:3000 to view it in the browser.
Runs a build to generate production-ready code, if you intend to deploy this to IPFS, swap the BrowserRouter in /src/components/App.tsx for HashRouter and set the start_url in /manifest.json to ./.